Mobile Sewing Center
Last October I brought Walt home and into my life - my little white (celery) 1964 Singer 221K Featherweight.

Since that time, I’ve been trying all kinds of storage and travel solutions for him. Plastic bins with handles. An Ikea cooler. Even a Trader Joe’s bag. Sigh, nothing was working as I wanted it to. I was like Goldilocks in search of finding Just The Right storage for old Walt. While my Featherweight fit in all those containers, there still wasn’t enough room for my tools, fabric and other accoutrements. Because just like that, I had become my grandmother (not a bad thing) with all her many totes and bags. Four, five, six bags… all for only a few hours away from the house. No. I need to lug ONE thing only.
Me with my shopping cart hauling ass down an aisle in Home Depot… I spotted It… Walt’s cherry new ride. I Fred Flinstone’d my cart’s breaks, backed up, stood in front of It, and then I cried a little. A muffled whimper of glee. I FOUND IT! By accident I discovered the Stanley-3-in-1-Rolling-Workshop. This has got to be too good to be true. For certain Walt was going to be a smidge too big to fit. I figured I could always take it back if it didn’t fit.

Not too tall, just tall enough. Two cats high, to be exact.

Nice big wheels on the side so no tipping over. Instead of a telescoping handle it’s got squeezy release action handle. LOVE that. Best part, is when I have my handle down and the top is nice and flush/flat - I can put my pressing board right on top and I’ve got myself an awesome little pressing station.

Oh hi, happy face.

Not too many compartments, just comparmenty enough. Three perfect compartments meant for sewing.

Bottom unit for Walt, small cutting mat, rulers.

Middle unit for my tools.

Top unit for my iron, water, Flatter, fabric, etc.

Actually, my Featherweight fits in either the top or the bottom case. This is just so dreamy. All that’s left now is to decorate my mobile sewing center and make it cute. The wheels are turning. Literally.
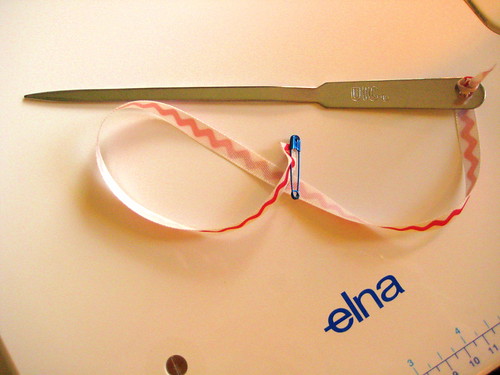
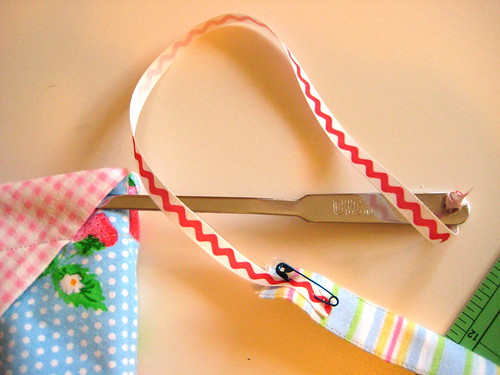
On a side note, I devised a way to keep my thread spool from flying around while my machine is tripping the lights fantasic across the west coast - I pop the spool in a small yogurt container…

… snap on the lid that has a small hole I cut in it and then jam the spool holder thing into it.

The container kind of rests on top and pretty much stays put depending how close the lid of my storage is to it. But even should it fall, at least the spool is safe and not getting tangled on everything. My spool cozy for traveling.

Damn I love to sew.
RESOURCES:
- Amazon.com: info
—-> Click here for comments/to comment.
![]() Comments Off
Comments Off ![]() Posted by Monica in Tips & Trix
Posted by Monica in Tips & Trix ![]()


 Farting around with needle & thread and then blogging about it.


