Mimi Kicks Stash - Part IV (Fin)
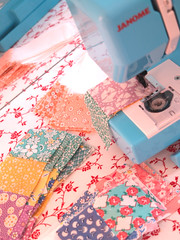
 Blocks done? Setting joined? Now all that’s left are the borders. Compleatly optional of course. It’s all up to you.
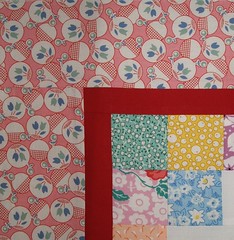
This is just my personal preference, and it always depends on the quilt itself… but in most cases I like a skinny inner border and a chubby outer border. In keeping with many traditional quilts from the 1930’s, I like to throw in a solid fabric somewhere in my quilt.
Many times I use a solid for the skinny inner border, for to me it makes the quilt snap, crackle and pop - and seperates the quilt center from the outer border. This is just personal preference, and you may want to do it differently. Individuality is always encourged!
 Did you make a Little Quilt? Did you make a Table Runner? Below are setting and border instructions for both, and as well… what’s needed for your backing, batting and binding for each option. If you rather… I have made the pattern into a PDF. It’s kind of a chunky download (6.1 MB’s) so it make take a minute or two to D/L. My gift to you. Please reciprocate and do not reproduce, copy, distribute or sell this pattern. This pattern is intended for your sole personal use or as a get-together project with your quilty and crafty friends. Thank you from the top and bottom of my heart! And Mimi’s too of course. :)
SETTINGS & BORDERS for LITTLE QUILT
26” x 32” Finished
Red Inner Border
cut 2) 24½” x 1½”
cut 2) 20½” x 1½”
Pink Print Outer Border
cut 4) 26½” x 3½”
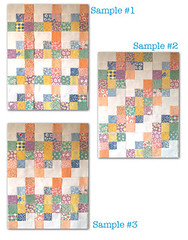
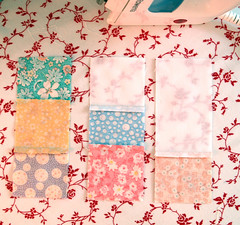
1) Arrange blocks into a 3 x 4 grid. Twist and turn blocks for desired “pattern”.
2) Sew together blocks in each row. Alternate pressing direction for each row.
3) Sew together rows to make quilt center. Quilt center should measure at 18½” x 24½”.
4) INNER BORDERS: Sew long (red) inner border strips to the quilt center’s long sides. Sew
short (red) inner border strips to remaining edges (top and bottom). Press all seams toward border.
5) OUTER BORDERS: Sew long (pink print) outer border strips to the quilt’s long sides. Sew
short (pink print) outer border strips to remaining edges (top and bottom). Press all seams toward outer border.
SETTINGS & BORDERS for TABLE RUNNER
20” x 44” Finished
Red Inner Border
cut 2) 36½” x 1½”
cut 2) 14½” x 1½”
Pink Print Outer Border
cut 2) 38½” x 3½”
cut 2) 20½” x 3½”
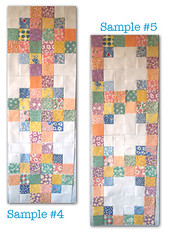
1) Arrange blocks into a 2 x 6 grid. Twist and turn blocks for desired “pattern”.
2) Sew together blocks in each row. Alternate pressing direction for each row.
3) Sew together rows to make quilt center. Quilt center should measure at 12½” x 36½”.
4) INNER BORDERS: Sew long (red) inner border strips to the quilt center’s long sides. Sew short (red) inner border strips to remaining edges (top and bottom). Press all seams toward border.
5) OUTER BORDERS: Sew long (pink print) outer border strips to the quilt’s long sides. Sew short (pink print) outer border strips to remaining edges (top and bottom). Press all seams toward outer border.
Finishing your Little Quilt or Table Runner
1) Layer your quilt top, batting and backing. Batting and backing sizes should extend at least 2” beyond the edge of your quilt top.
Little Quilt: 30” x 36” batting & backing
Table Runner: 24” x 48” batting & backing
2) Baste or pin layers. Quilt as desired.
3) Bind using a coordinating fabric with your favorite binding method.
Little Quilt: 3) 2½” strips for binding (40-44” WOF)
Table Runner: 4) 2½” strips for binding (40-44” WOF)
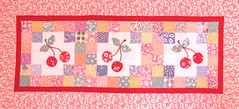
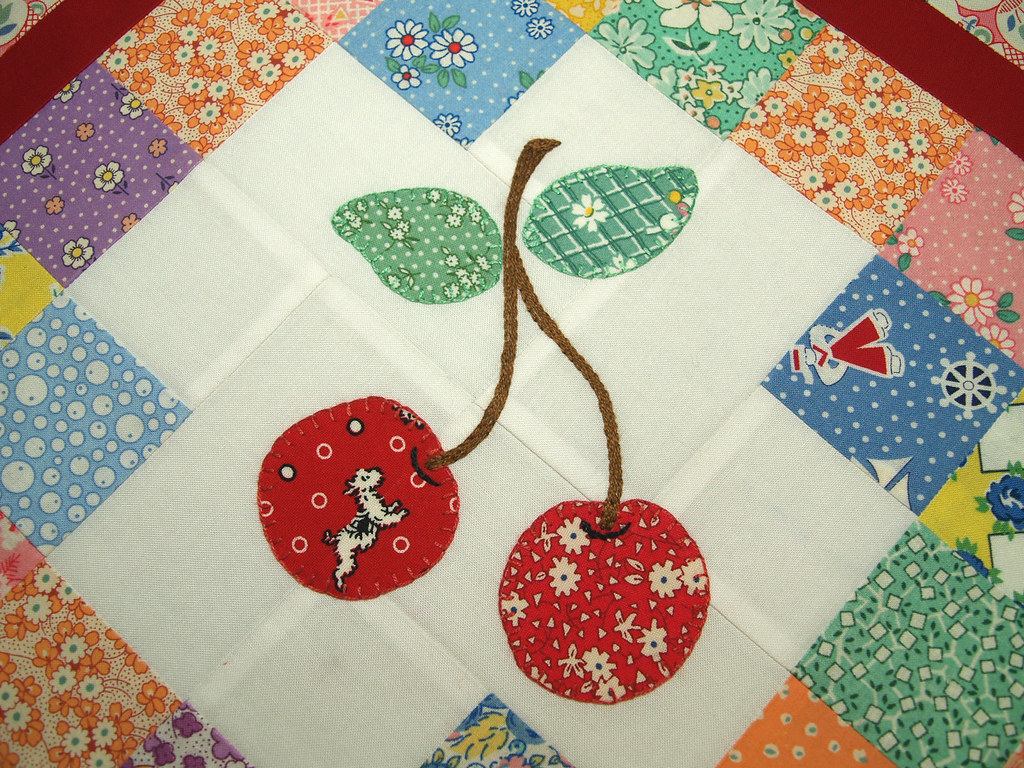
I have decided my Table Runner was going to be a wall hanging. I have a long narrow empty space about between my ironing counter and and my cupboards. I’ve added cherries to my big white spaces by fusing (with Heat & Bond Lite) and hand enbroidered button hole stitched them in place and the stems I embroidered.
 I have put my cherry illustration on the PDF version of this pattern if you’d like to use it too.
The quality is not that good in this layout photo. It was cloudy when I snapped it, and no ammount of tweaking in PhotoShop was going to help this puppy.
 And now I must nap. Oh wait. There’s a note on the fridge from Mimi (she’s learned quick that I’m at the fridge a lot)…
 Dear Mum,
NOW will you let me get some new fabrics??? Blah, blah, blah… Anna Lena Schmana Lena… blah, blah, blah. All you ever talk about. As far as I’m concerned - you could have made this place up. After your nap, and if I promise to behave… will you take me there?
Mimi Kicks Stash Quilt-A-Long
[PART I] [PART II] [PART III] [PART IV] [flickr]
![]() 24 Comments
24 Comments ![]() Posted by Monica in Quilty n Crafty, Mimi Kicks Stash
Posted by Monica in Quilty n Crafty, Mimi Kicks Stash ![]()


 Farting around with needle & thread and then blogging about it.