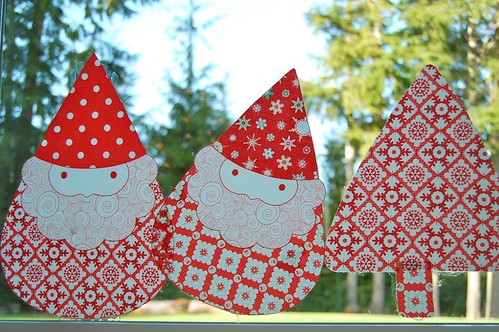
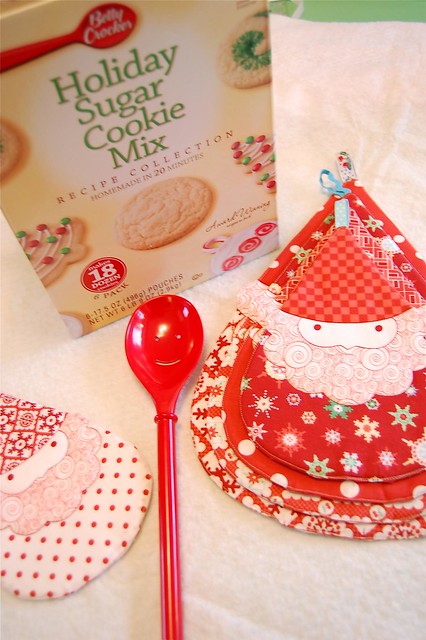
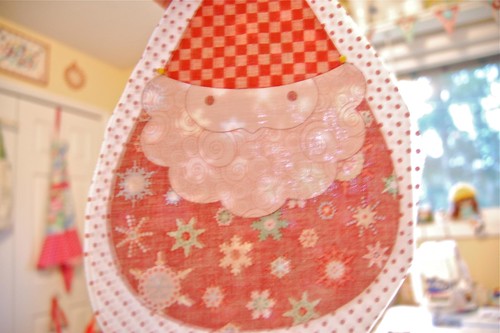
 Welcome to Day 4 of my 5 or so Days of Holiday Happy - 5 or so days of celebrating Gnoma Claus from my Holiday Happy fabric.
Ever since Spring Market - where I had my little Gnoma Bags on display (in the Lecien booth)… I’ve been asked if I’d sell the pattern. Since I suck at selling stuff… I always figured I’d just give it away (does that make me a craft slut?). But in all honesty, I want support all the wonderful shops who are selling my fabric. (Ok, so I’m a tiny bit craft slutty - but a grateful one!)
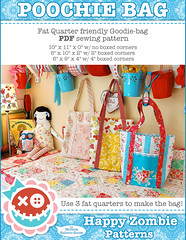
Making the little bags is very similar to my Poochie Bags - so if you’ve made that pattern - this one is a piece of cake.
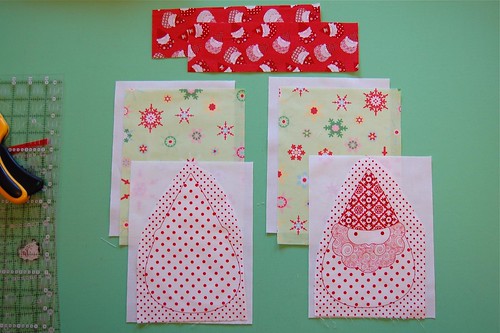
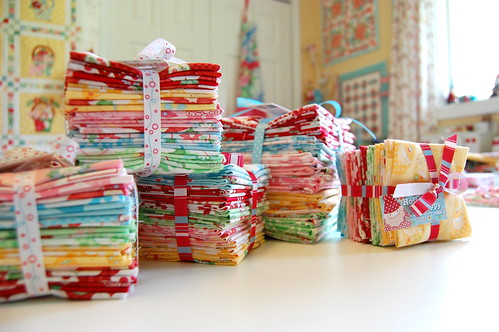
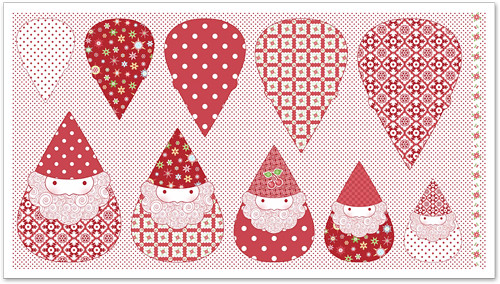
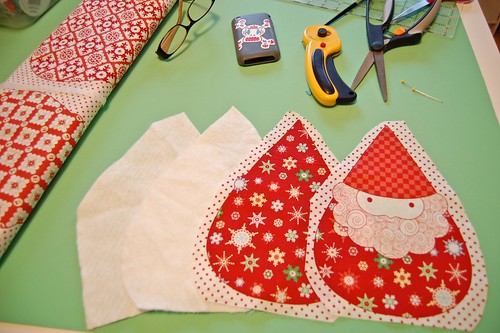
One Gnoma Claus panel, some bits and pieces of Holiday Happy, and 1⅓ yard of solid snow/white (for the liner and backs of Gnoma) - you will yield 5 Gnoma Bags in nested sizes.
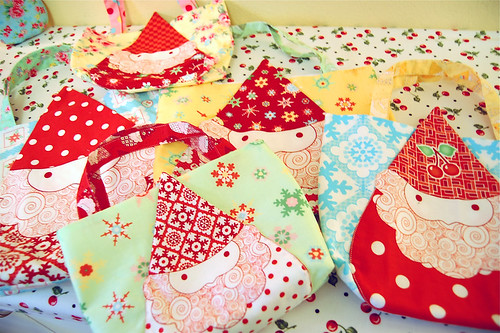
Here’s the cutting chart for all the different sizes. Cut your Gnoma’s out of the panel with ample room around Gnoma’s edges. It doesn’t have to be pretty - it’ll get trimmed off later. All measurements are in inches.
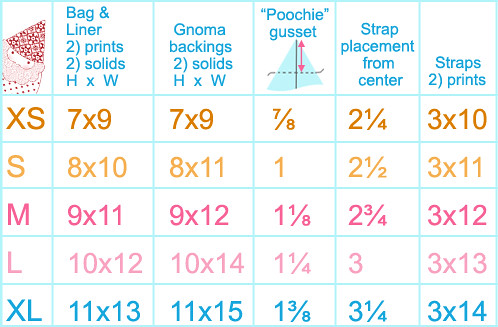
For the tutorial, I’ll be making the extra small bag. Use the XS cutting & measurement chart above.
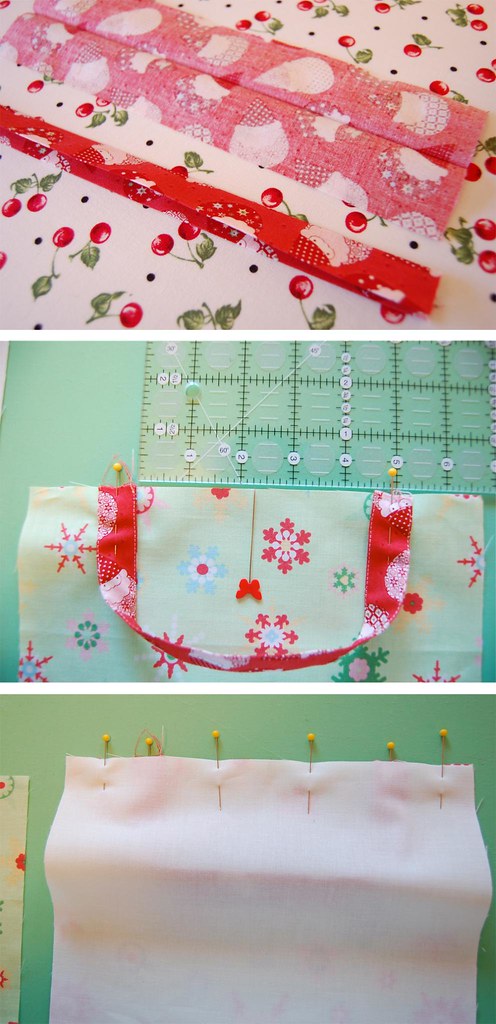
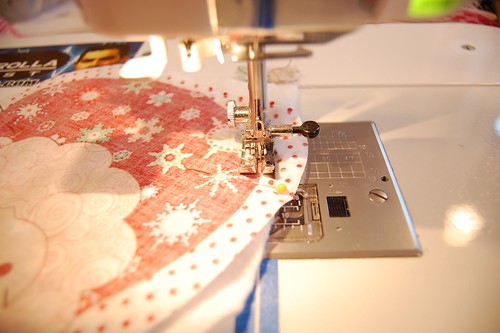
1. Fold and press each 3×10″ handle strap in half lengthwise - with wrong side inside. Open and press long edges to center. Refold in half and press. Repeat for both handle straps. Edge-stitch on outer edges to finish handle straps. Stitch as close to the edge as possible… this will give your straps a polished look and feel.
2. Find the center along the width of your printed bag piece. On 2¼” from each side of the center is where you will pin your strap (to the right side of fabric).
3. Layer edge of solid to unit. Pin and sew a ¼” seam along the top. Press one unit to the solid, and press the other unit to the print. This will make for a nice seam nesting when you assemble the bag.
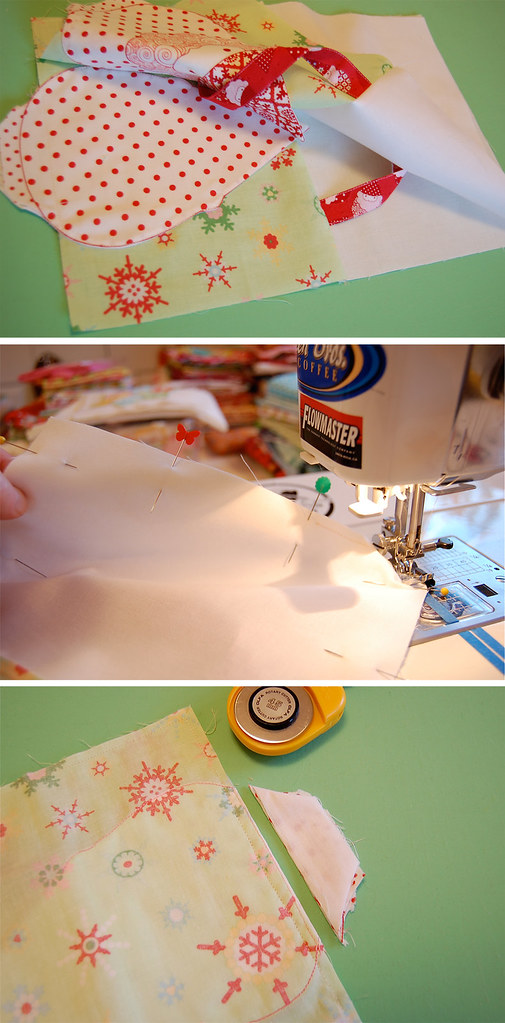
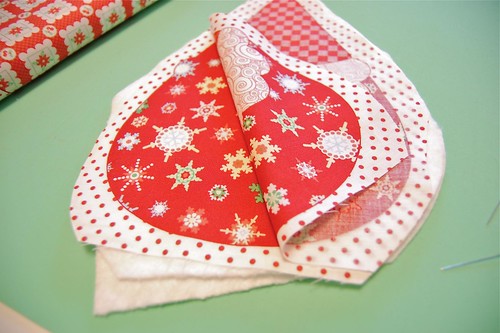
4. Make your Gnoma pockets by layering (right sides together) your Gnoma front fabric to the solid fabric, and your Gnoma back fabric to a piece of solid fabric. Pin and sew along Gnoma’s edges. Leave an opening at the bottom for turning (a least 3″).
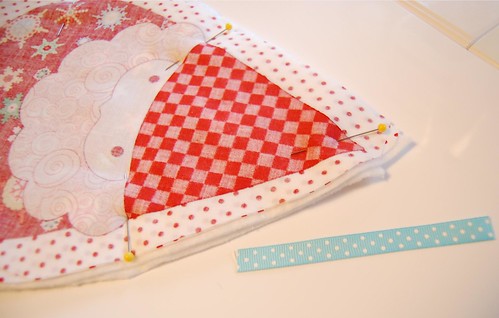
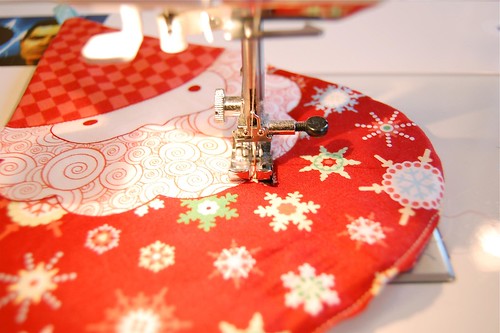
5. Turn units inside out, press and pin to printed piece of bag unit. Note: You don’t have to stitch Gnoma’s opening closed. Position the flattest part of Gnoma’s bottom to the bottom of the unit, and on center.
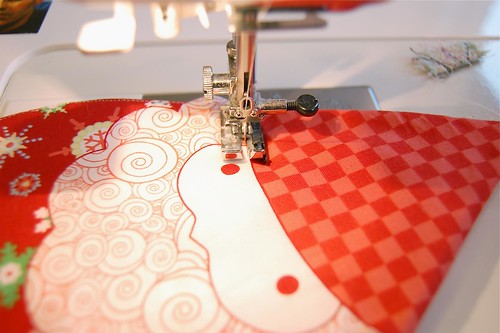
6. Edge-stitch all the way up to where Gnoma’s hat line and beard meet. Pivot and sew your way back to the bottom. Repeat on other side of Gnoma to form a pocket.
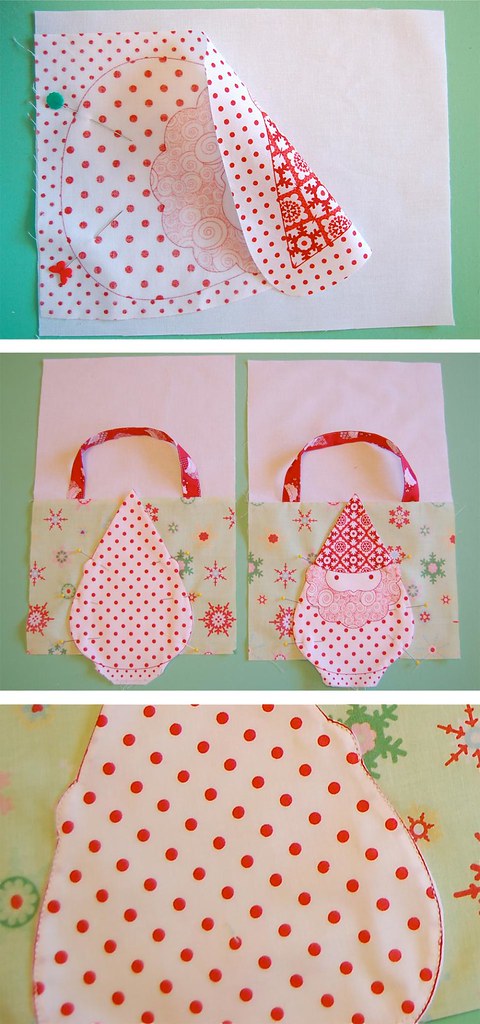
7. Layer bag units, right sides together.
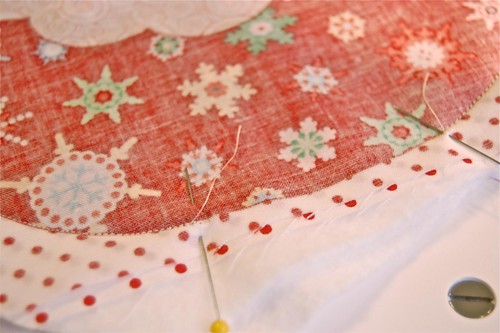
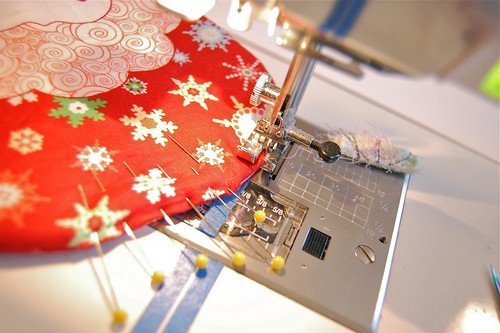
8. Pin, and stitch a ¼” seam around entire unit, leaving a 3″ opening on center on the bags liner unit for turning.
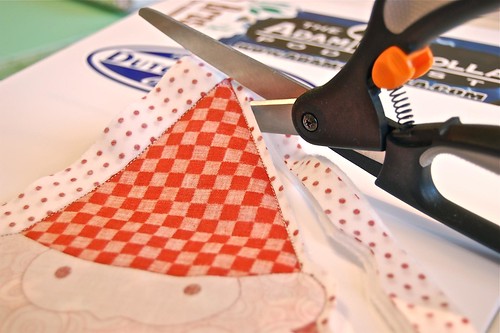
9. Trim off Gnoma’s excess junk in the trunk.
10. Make your Poochie (gusset) by pinching a corner so that the front and back seams are aligned vertically - creating a triangle. Stitch horizontally across triangle (at ⅞” from the triangle tip), and back-stitch ends of stitching to “lock”. Trim off triangle tip ¼” from the seam to reduce bulk. Repeat on all corners.
11.Turn bag inside out. Close turning opening by top-stitching it closed. Tuck liner inside bag. Done!
12. Optional - add a button, snap or Velcro® at Gnoma’s hat tips to keep pockets closed. 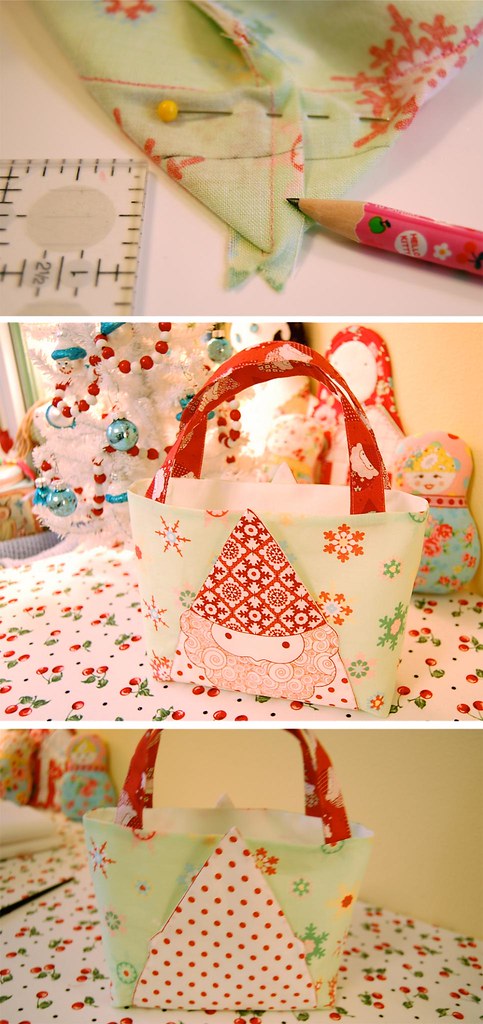
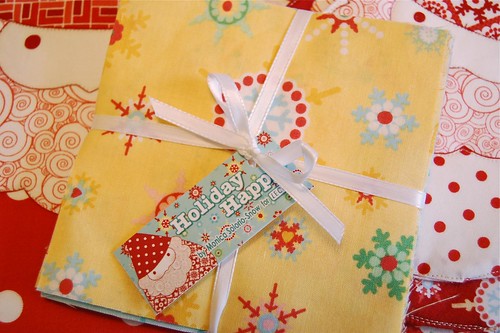
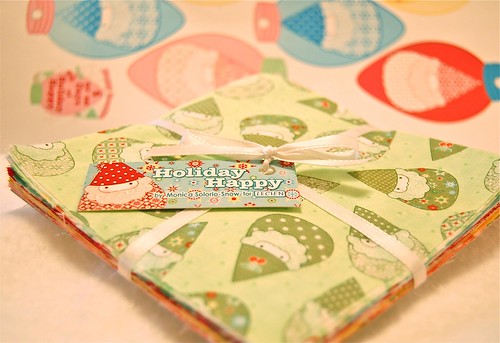
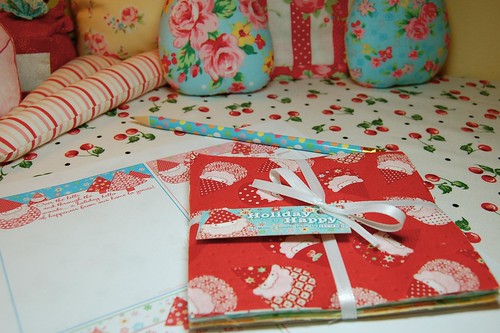
I’ll give a little charm pack of Holiday Happy to one lucky commenter who answers the question of the day (or just leave a comment).

EDITED IN 12/3/10:
Winner picked for this day has now been picked (by random.org), and is… comment #109 Stephanie of Queen of the Unfinished Projects…! Congratulations, Stephanie!
[Day 1] ❄ [Day 2] ❄ [Day 3] ❄ [Day 4] ❄ [Day 5] ❄ [Day 6]
[See what others have made @ HH flickr group]
[Shop] ❆ [Contact Lecien]









 Farting around with needle & thread and then blogging about it.


