Quilty Fun Sew Along
January 27th, 2014
I’m so excitied that today is my day for the Quilty Fun Sew Along book tour!
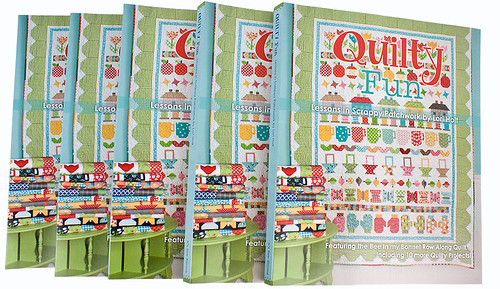
PHOTO CREDIT: Fat Quarter Shop
First off, Quilty Fun is no ordinary book, and written by my dear friend Lori Holt. That would we THE Lori Holt, Queen of All Things Cute. Not only is everything one can make in Lori’s book cute, and oh so yummy - but so are the peeks inside Lori’s adorable home. Lori’s style is a fresh, happy twist on vintage. Lori’s style is evident in her patterns (and gorgeous fabric collections), and is in a style that sings to my quilting core… where traditional meets modern, yesterday hugging today. Quilty Fun is a seriously yummy book.
Here’s what Lori’s finished sew along sampler quilt looks like. It’s also a peek inside Lori’s book.
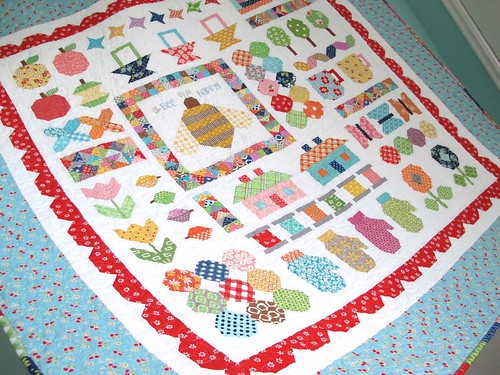
PHOTO CREDIT: Fat Quarter Shop, QUILT CREDIT: Quilty Fun Sampler by Lori Holt
Want to jump in on the sew along? You can follow along at any time, but if you play along this week with me and make the Honeycomb units you’ll get to enter the Fat Quarter Shop’s giveaway of two boxes of Clover Wonder Clips and a packet of Alphabitties. One can never to be too rich, too thin or have too many Clover Clips. Seriously. The winner will be chosen from the pool of submissions on the Flickr group and will be announced on Fat Quarter Shop’s Jolly Jabber blog on Monday, 3 Jan, 2014.
TO ENTER:
1. Buy the Quilty Fun book
2. Get the Honeycomb companion pdf
3. Make the Honeycomb units (pg. 108 in book) and photograph it.
4. Enter your Honeycomb photo at the flickr group (which is how you enter)
(note: the book is required in order for the companion cutting instructions to be usable)
TO MAKE SAMPLER:
1. Buy the Quilty Fun book
2. Get all the companion PDF’s
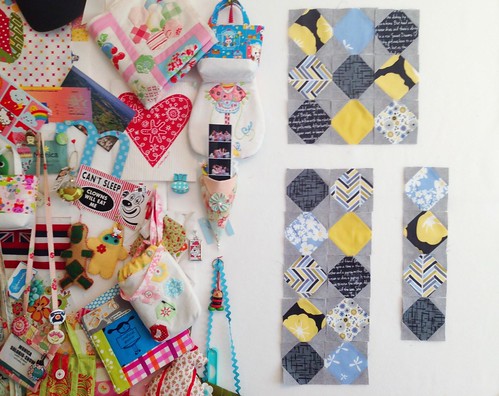
Here’s my Honeycomb (snowballs) that I made with Violet Craft’s Madrona Road and Robert Kaufman’s Essex Yarn dyed in Steel.
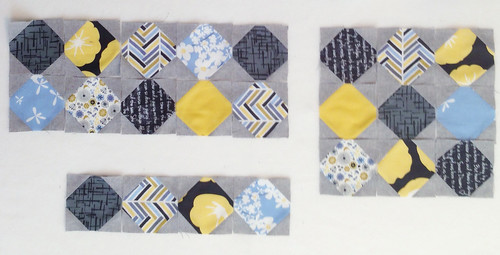
The way I make my snowballs is I sew on all my background corner pieces to the snowball fabric. I flip it over and then square-up by trimming off the excess (Steel) background fabric using the (yellow) snowball fabric as my guide. How my corners get so off kilter is beyond me, so squaring-up is a must for me. A serious, serious must.
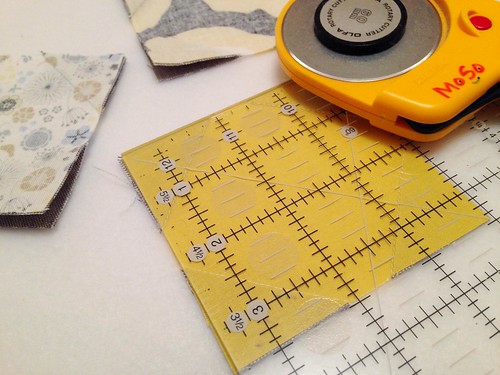
I then press the background fabric’s corners to the back.


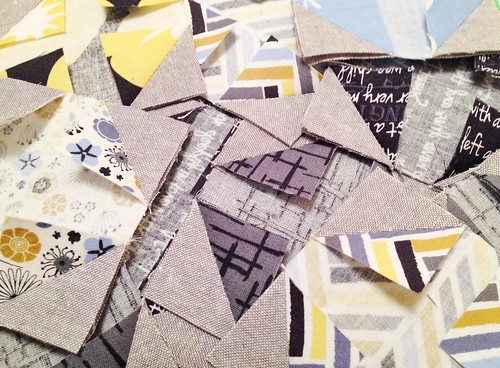
Next I trim the excess off of the back and corner backs of the block, leaving a ¼” seam. Pressing before cutting is a trick I learned from watching Fons & Porter’s Love of Quilting on PBS. Super slick and my seam is perfectly flat every time. A crisp, shiny, happy seam.
RESOURCES:
– Lori Holt of Bee in my Bonnet
– Tour info, companion PDFs, and Bloggers
– Buy the book: Quilty Fun by Lori Holt
– Get the Honeycombs companion sheet (pdf)
– Enter to win + join the flickr group
Posted in Stuff |
 Farting around with needle & thread and then blogging about it.










That’s a great idea for pressing and trimming the corners. Thanks for sharing
January 27th, 2014Monica!!!…
January 27th, 2014thanks sew much for hosting this weeks episode of the sew along…and for all of your kind words:)
You are the sweetiest of sweets!!!
xxLori
Having SEW Much Fun with this Lori Holt SAL! Love your Honeycomb/snowballs.
January 27th, 2014Pressing before quilting?? Blowing my mind, Monica! Must try!
January 28th, 2014ADORABLE. Love the tips on pressing and squaring up. I also the truth wall.
January 30th, 2014