Wednesday, June 6th, 2007
With an Easy Angle and Companion Angle you really can seem to make the Jelly Rolls grow. There are so many great patterns and ideas for Jelly Rolls, and here is a way to make your 2½” strip width “grow” to make a 2⅞” half-square and a 5¼” quarter-square.
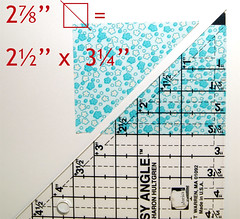
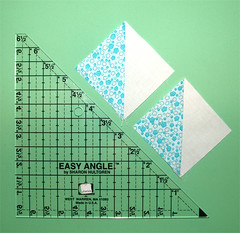
Easy Angle: For a 2⅞” square, cut a 2½” x 3¼” rectangle and use the Easy Angle and cut into two half-square triangles.
Your final result:
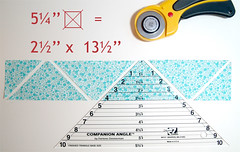
Companion Angle: For a 5¼” square, cut a 2½” x 13½” rectangle and cut into four “quarter-square” triangles. Discard the ends - or save them for another project.
Your final result:
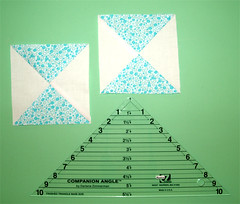
An extra added bonus is half of your dog-ears are magically trimmed. I use the rulers for dog-ear trimming on other projects too. I also find it hard to cut into a piece of fabric to make say a 5¼” square when I have plenty of 2½” strips or I only have a 2½” strip. Using the Companion Angle I can avoid cutting a big square. I love these rulers and think if you’re someone who’s addicted to Jelly Rolls (and who isn’t!), these two tools will add big bang to your jelly roll bucks.
 32 Comments
  Posted by Monica in Quilty n Crafty, Tips & Trix

Monday, February 26th, 2007
This is the fabric folding method I used in my re-do (BTW, not quite yet a re-DONE… but I’m getting there!). Anyhoo… I’m not sure if this is the exact way Lois Hallock does it (I have her book… I guess it’s time I read the words instead of just looking at the pictures!). This is how I learned it from my friend Karen when we folded her fabric in her new studio (and Karen learned it from Lois). So here’s what I do:
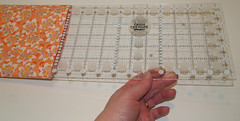
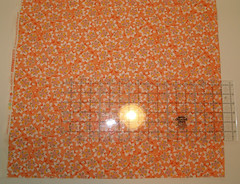 1) Place folded yardage with selvedge to your left, the fold to your right. Line up your ruler on the fold. I use a 6½” ruler, but you can use what ever size you like. You can also let your shelf size/space dictate what size you want to make it.
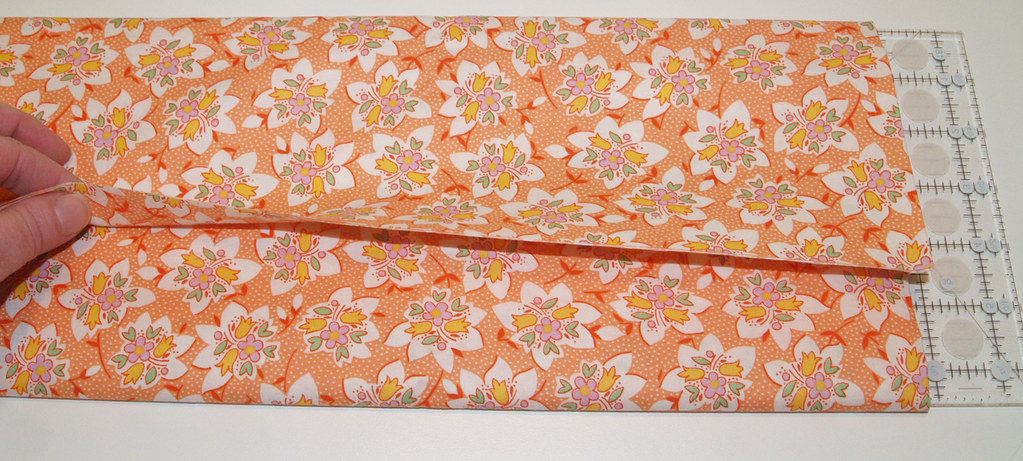
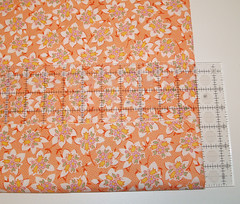 2) Next just start rolling up. Flipping over and over until you get to the end. Let the ruler be your guide. It doesn’t have to be super tightly wound, but you don’t want it to slip and slide either.
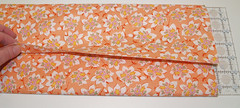 3) When you reach the end, your last flap my need to be turned under just a bit. Kind of like how you do when you wrap something in tissue paper.
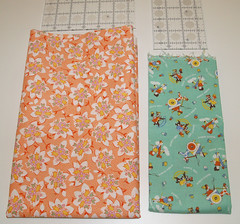
 4) Slide out your ruler and now fold the folded end to the selvedge end. Stack your fabrics with the fold facing you. I use the same method with fatquarters, but with a skinnier ruler (I used a 3½” ruler). I let my shelves dictate how I was going to roll/fold my FQ’s, and rolled them on the 18” width of the fabric so they’d rest nicely on my narrow shelves.
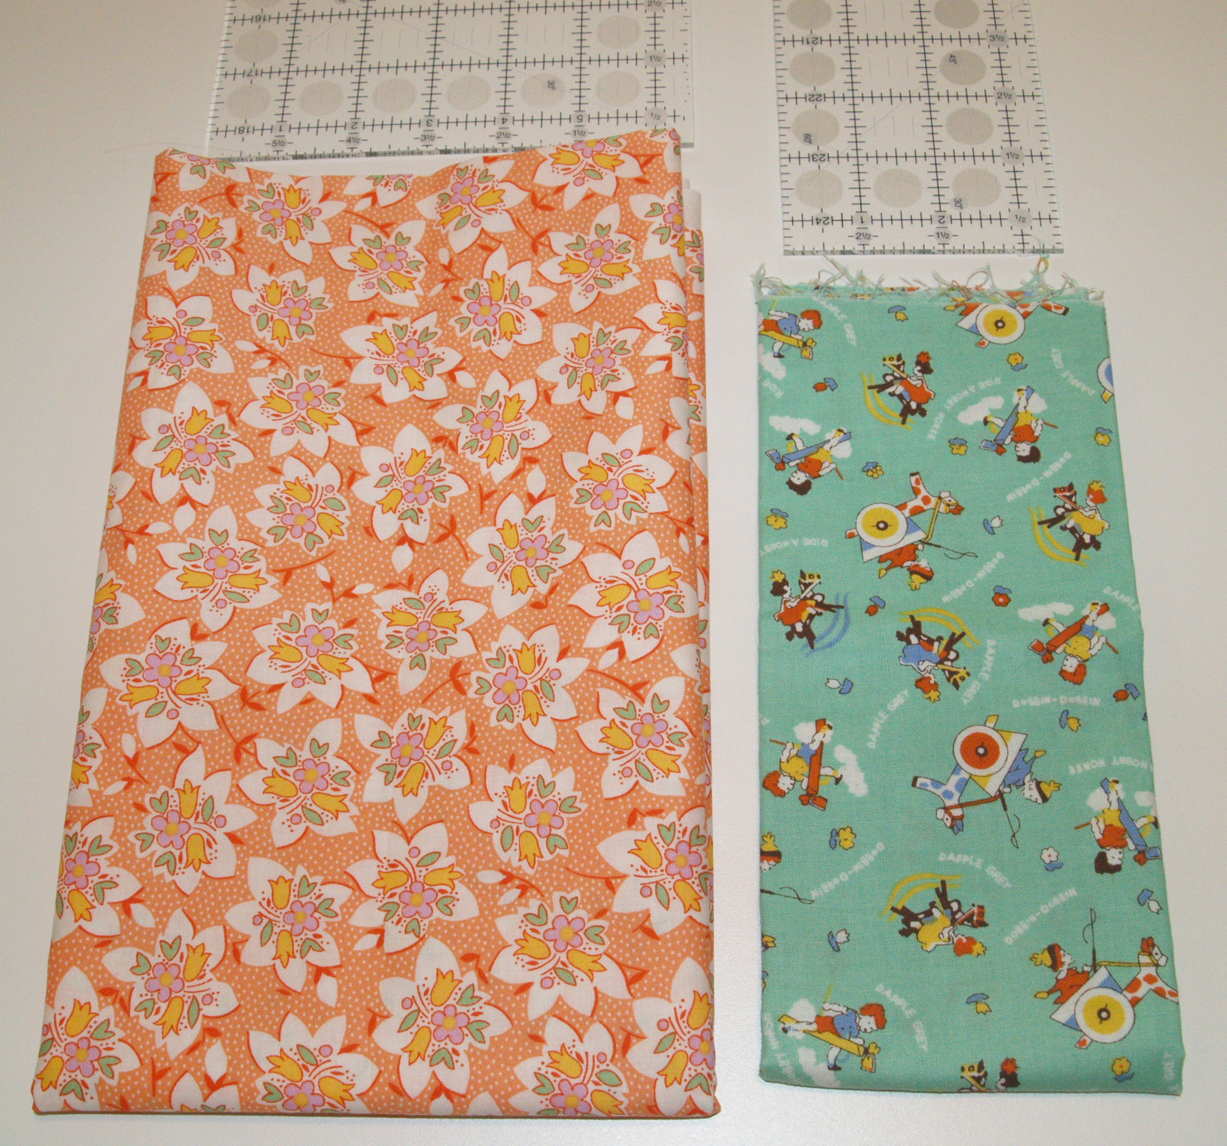
 My yardage cupboards have deeper shelves so finishing with an 10”/11” final unit worked perfect for me. If you don’t have a neat piece of yardage to begin with (and boy do I have a lot of those), just fiddle with your piece so you and up with a nice folded unit with now raw edges visible.
I hope I made sense of this! If you’re like me - the pictures tell the story and not the words. Drink the fabric folding Kool-aid… you won’t regret it! Some before and after photos here.
45 Comments Posted by Monica in Quilty n Crafty, Fabric Folding, Tips & Trix


 Farting around with needle & thread and then blogging about it.